
Most people buy an outdoor pizza oven expecting it to fix their pizza problems automatically, and then their first four or five pies come out with a bottom like a hockey puck, a raw middle, or both at once. That is not a defect in the oven. A wood-fired pizza oven cooks a pie in sixty to ninety seconds at temperatures your kitchen oven will never touch, and that speed punishes sloppy dough, slow hands, and guesswork about heat. I run a BIG HORN on my deck most Sundays and it took me a genuine string of bad pizzas before I understood what the oven actually wanted from me.
This is the process I settled into after those early misses, laid out as five steps you can actually follow, plus a troubleshooting section for the four failures almost everyone hits: the burnt bottom, the raw middle, the pie that welds itself to the peel, and the pizza that browns dark on one side and pale on the other. I use the BIG HORN pizza oven as the reference point throughout because that is what sits on my deck, but the fundamentals apply to any hot, stone-floored outdoor pizza oven. If you have not settled on one yet, I go through my own long-term experience with it separately, here.
Before you touch the dough, get the oven that can actually hit these temperatures.
Everything below assumes you can reach 700 to 750 degrees at the stone in well under twenty minutes. That is the whole game with pizza ovens, and it is where a lot of cheaper setups fall short. Current price on Amazon, with free shipping for Prime members.
Amazon Check Today's Price on Amazon →Step 1: Build a Dough That Can Handle 700°F
Start with a simple Neapolitan-style dough: 00 flour or a strong bread flour, water at roughly 62 to 65 percent hydration, a small amount of salt, and just a pinch of instant yeast if you are cold-fermenting. Mix it, knead until smooth, then divide into 250 to 260 gram balls for a 10 to 12 inch pie, which is the size the BIG HORN's floor handles best without the edges brushing the walls.
The fermentation matters more than most people think. A same-day dough left at room temperature for four or five hours will work, but a dough that spends 24 to 48 hours in the refrigerator develops better flavor and, just as important for an outdoor pizza oven, a more relaxed gluten structure that stretches without tearing or springing back. Pull your dough balls out of the fridge about an hour and a half before you plan to cook so they come up to room temperature and stretch easily.
After dividing, shape each portion into a tight, smooth ball, rub it lightly with olive oil, and let it rest in its own covered container rather than crowding several balls together. A crowded tray of dough balls fuses at the edges and tears when you try to separate them later. Give the balls a final 45 to 60 minute bench rest at room temperature once they come out of the fridge, uncovered near the end so the surface is not tacky when you start to stretch.
Step 2: Preheat the Stone, Not Just the Dome
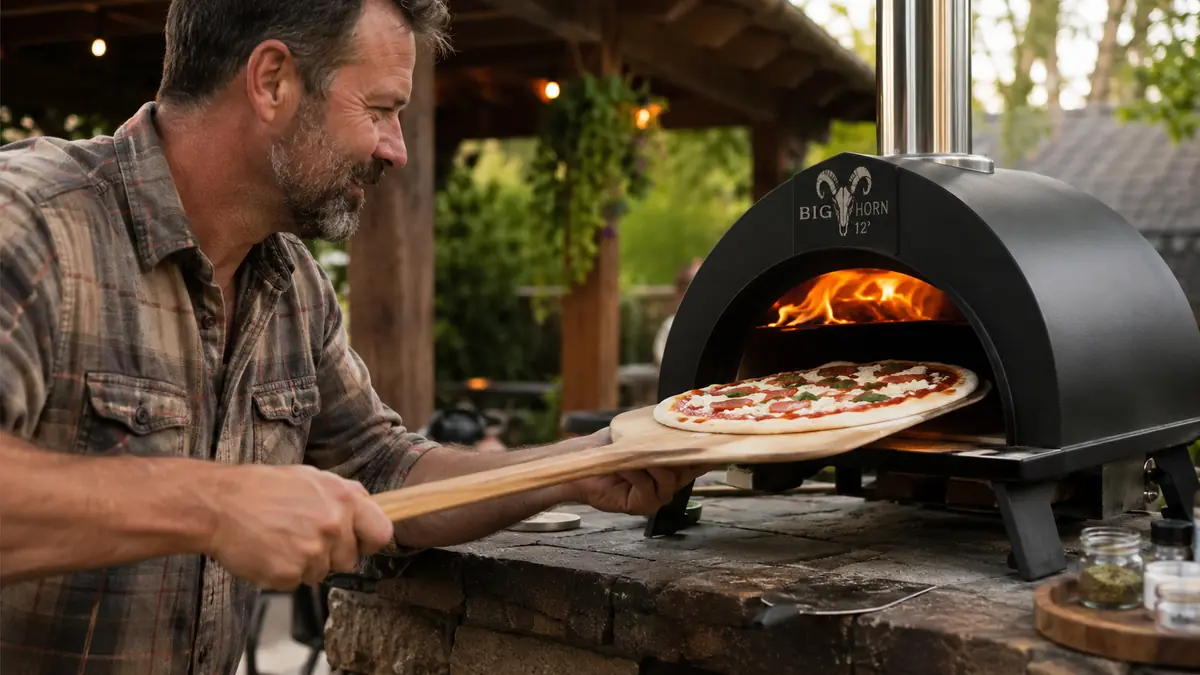
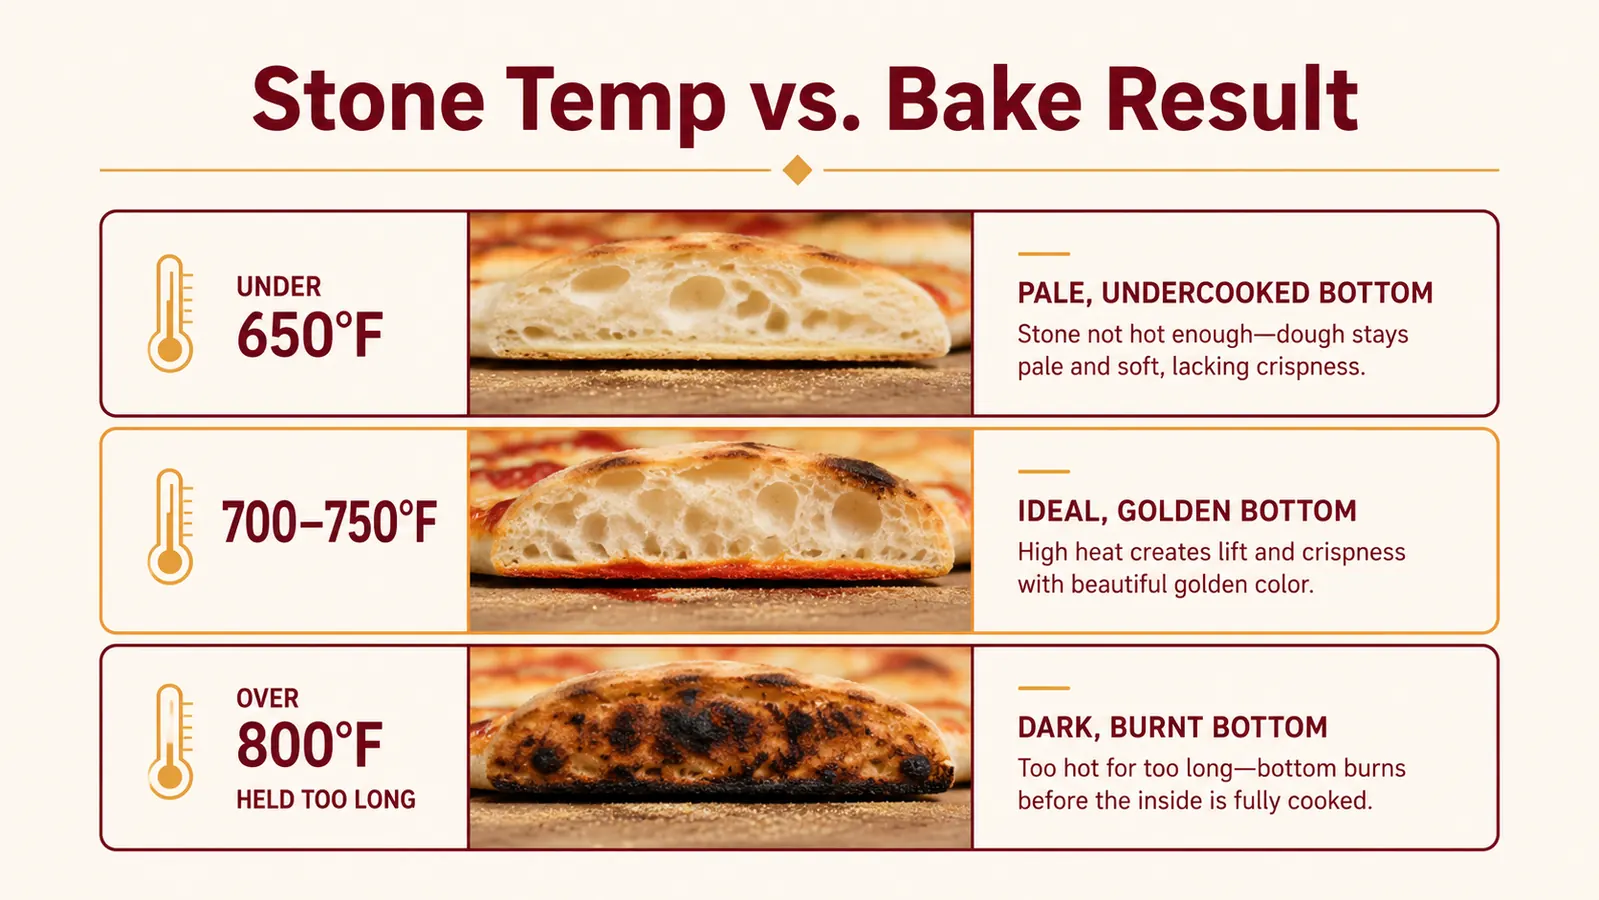
This is the step people skip and pay for later. A pizza oven can look hot, with flame rolling across the dome and the chimney smoking, while the stone underneath is still lagging thirty or forty degrees behind. On my BIG HORN, loaded with hardwood pellets, I get a usable stone temperature of 700 to 750°F in about fifteen minutes, but I always give it another five minutes after that to let the heat soak evenly through the whole slab rather than just the spot under the flame.
If you have an infrared thermometer, use it and check the stone in at least three spots, center, front, and back, because uneven preheating is the single biggest cause of a pizza that is perfect on one side and pale on the other. If you do not have one, a reliable low-tech test is tossing a small pinch of flour onto the stone. If it browns and smells toasted within five seconds, you are close to 700°F and ready to cook.
Fuel choice changes this timing. Wood pellets get the BIG HORN to a usable stone temperature the fastest, around fifteen minutes as noted above. The gas burner attachment takes closer to twenty minutes to reach the same range, and the electric coil option is slower still, often twenty-five minutes or more, though it is the easiest to hold at a steady temperature once it gets there. Budget your prep time around whichever fuel you are running that day rather than assuming a single preheat window covers all three.
Step 3: Stretch and Top Without Overloading
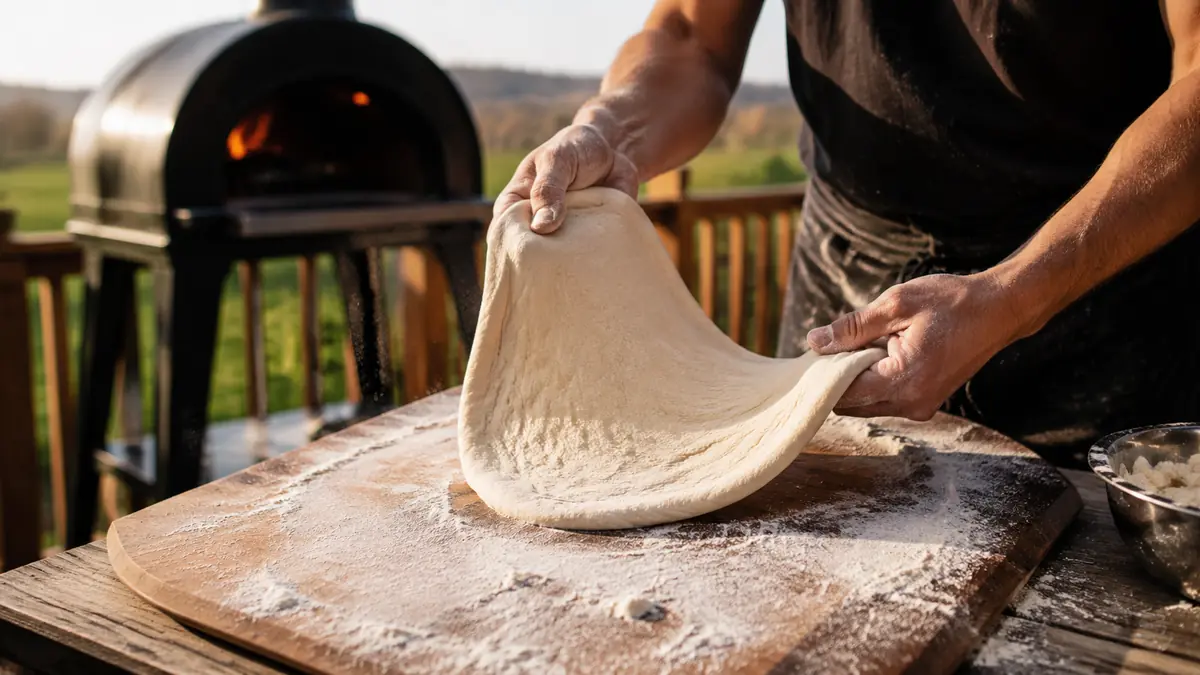
Stretch the dough by hand on a lightly floured surface, working from the center outward and leaving about a half inch of thicker edge for the crust to puff. Do not use a rolling pin. It pushes out all the air bubbles you want for a light, airy cornicione, and it is a habit that shows up as a dense, cracker-like edge every time.
Keep the toppings light. This is the mistake I see most often from people new to a pizza oven, because it feels wrong to put so little on a pizza compared to what looks normal from a delivery box. A thin layer of sauce, a modest scatter of low-moisture mozzarella, and two or three toppings maximum is what actually cooks through in ninety seconds. An overloaded pie with a thick layer of wet toppings needs more time than the crust can survive, which is a direct path to a burnt bottom while the center stays soupy.
Build in order: sauce first, spread thin with the back of a spoon almost to the edge, then cheese, then anything wet or heavy like fresh mozzarella, sliced tomato, or mushrooms placed sparingly and patted dry beforehand. Fresh basil and a finishing drizzle of olive oil go on after the pizza comes out, not before, since raw basil scorches instantly at these temperatures and turns bitter.
Step 4: Launch It Without It Sticking to the Peel
Build your pizza directly on a wooden peel dusted with semolina flour or a fifty-fifty mix of semolina and all-purpose flour. Semolina acts almost like tiny ball bearings under the dough, letting it slide instead of grip. Regular flour alone works in a pinch but burns faster on the stone and needs a heavier dusting to do the same job.
Once the pizza is topped, do not let it sit. Give the peel a gentle shake every fifteen to twenty seconds while you work, and launch it into the BIG HORN within about a minute of finishing the toppings. The longer a topped pizza sits on a peel, the more moisture soaks into the dusting layer underneath, and that is when it stops sliding and starts sticking. If you feel any resistance when you go to launch, work more semolina under the stuck spot with quick, short shakes rather than forcing a shove that tears the dough.
Step 5: Cook Fast and Rotate Constantly
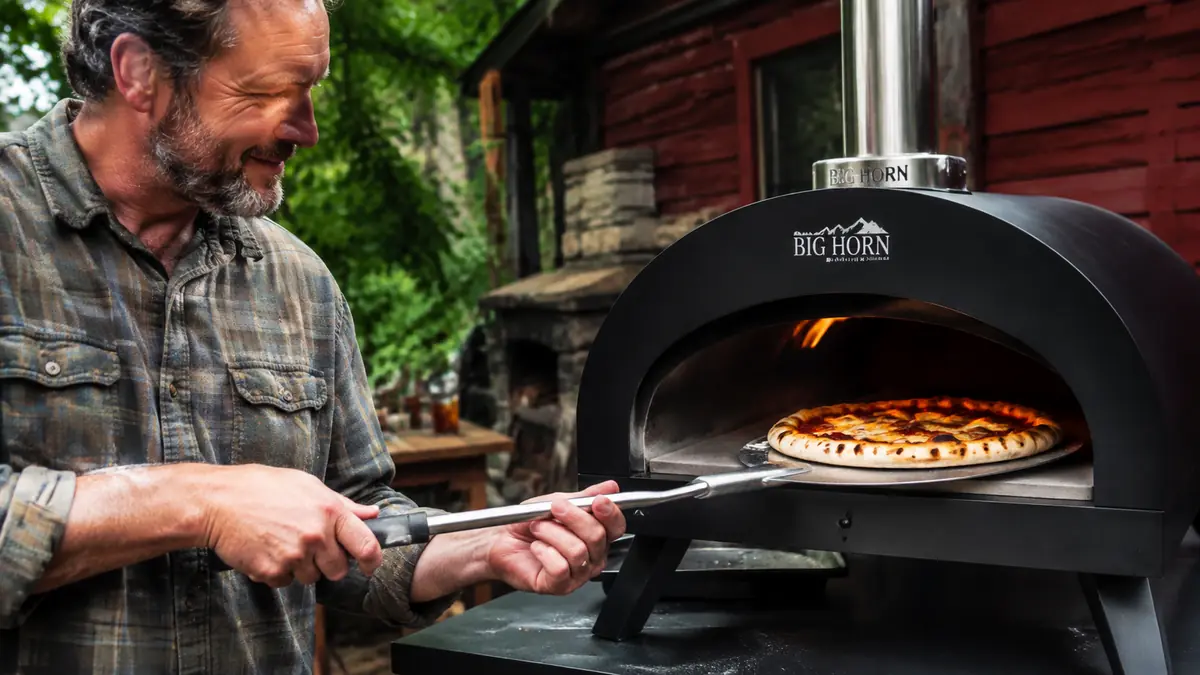
At 700 to 750°F, a 10 to 12 inch pizza in a real pizza oven cooks in roughly sixty to ninety seconds, and that speed is exactly why rotation is not optional. Using a small metal turning peel, give the pizza a quarter turn every fifteen to twenty seconds so no single side sits directly under the hottest part of the flame for more than a few seconds at a time. On the BIG HORN, the flame tends to concentrate toward the back near the fuel source, so I rotate slightly more aggressively on that side.
Pull the pizza once the cornicione is puffed and showing dark leopard spotting, and the cheese has fully melted with a few light golden blisters. That is usually the full ninety seconds, occasionally less if your fire is running hot. Let it rest on a wire rack or cutting board for a minute before slicing so the structure sets and the cheese does not slide off with the first cut.
Troubleshooting the Four Failures Everyone Hits
Burnt bottom with a pale or raw top usually means your stone is running hotter than your dome, which happens most often right after loading fresh fuel when the flame has not built up yet to heat the air above the pizza. The fix is patience: let the fire establish for a couple extra minutes before your first launch, or move the pizza slightly off the hottest zone of the stone for the last twenty seconds of the cook.
Raw or gummy middle almost always traces back to dough that was stretched too thick in the center, or hydration that is too low for how thin you tried to go. Aim for the center of your stretched round to be nearly translucent when you hold it up to light. If it still looks doughy after a full ninety-second cook, your next batch needs either a longer, thinner stretch or a slightly wetter dough.
Sticking to the peel is almost always a timing problem, not a flour problem. Build the pizza fast, keep it moving with regular shakes, and launch within a minute. If a pizza has already stuck, resist the urge to yank it. Work a thin metal spatula or bench scraper gently under the stuck section, add a pinch more semolina, and try the shake test again before committing to the launch.
Uneven browning, dark on one side and pale on the other, comes down to fire placement and rotation discipline. If you are cooking several pies in a row on the BIG HORN, rake the coals or pellets back toward the center of the fuel tray between pizzas so the heat stays balanced, and do not skip a rotation just because the pizza looks fine at the fifteen-second mark. It will not look fine by the thirty-second mark if you do.
If a mistake keeps repeating across several cooking sessions, it is worth writing down what fuel you used, how long you preheated, and how the pizza came out. A pizza oven rewards pattern recognition more than any single tip, and two or three logged sessions usually reveal exactly which step in this process needs adjusting for your specific setup and weather conditions.
What Else Helps
A few small tools make this whole process easier without changing the fundamentals. An infrared thermometer takes the guesswork out of preheating. A bench scraper helps you free a stuck edge without tearing dough. And keeping a spray bottle of water nearby lets you knock down a stray flare-up without dousing your fuel bed entirely. None of that replaces good technique, but once the five steps above are second nature, these are the things that turn an occasional great pizza into a consistent one. If you are still deciding whether a dedicated pizza oven earns a permanent spot on your deck, I laid out ten reasons it does in this piece.
The oven is not the hard part. The hard part is accepting that a pizza oven gives you ninety seconds to get everything right, and building a process fast enough to keep up with it.
Get the oven that makes this process possible in the first place.
None of these five steps matter if your equipment cannot reach and hold 700 to 750 degrees at the stone. The BIG HORN gets there in about fifteen minutes on wood pellets and folds down small enough to store or take along. Under two hundred dollars on Amazon right now.
Amazon See the BIG HORN Pizza Oven on Amazon →