
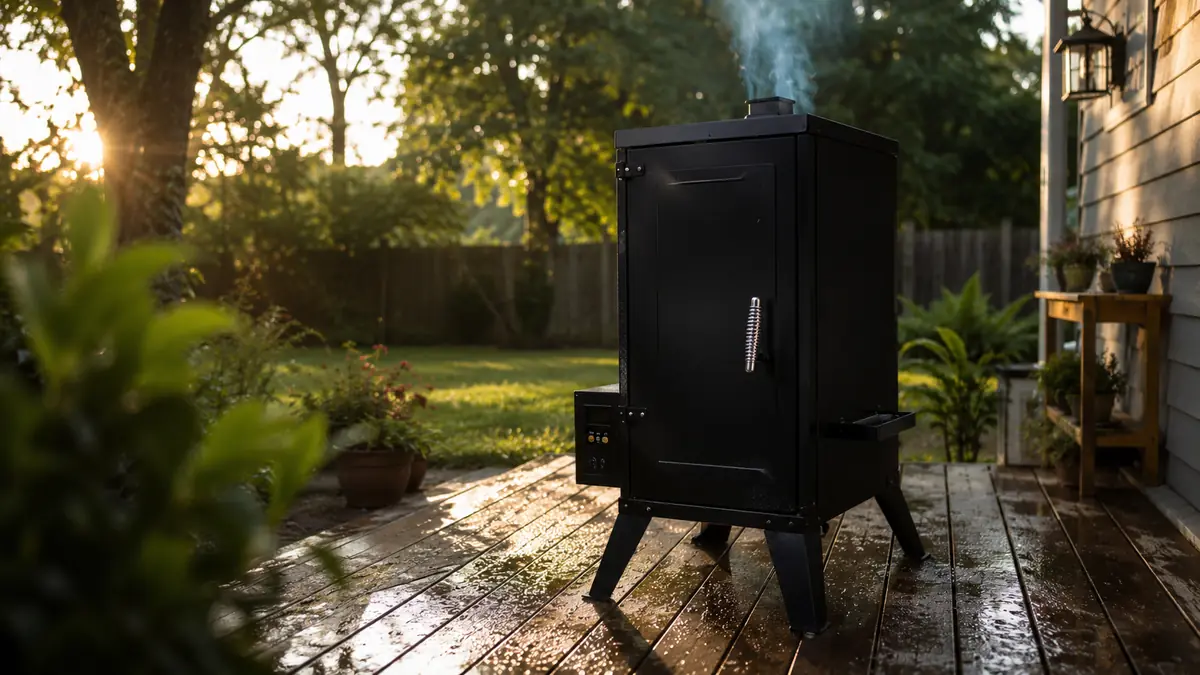
Brisket is the cut that convinces most backyard cooks an electric smoker is a gimmick, and it is usually not the machine's fault. A 12 to 14 pound packer brisket has two different muscles running at two different grains, a fat cap that needs rendering without burning, and a stall somewhere around 150 to 165 degrees that panics people into cranking the heat or bailing early. Do a handful of things out of order and you get a dry flat, a bark that never set, or a brisket pulled an hour too soon.
I ran a Masterbuilt 30-inch electric vertical smoker through six full briskets this past year specifically to nail down a process that works with an electric unit instead of fighting it. This is that process for anyone running a brisket through an electric smoker for the first time, or anyone who has tried it once already and ended up with something dry.
Set it, watch the thermometer, and stop babysitting a fire for twelve hours.
The Masterbuilt 30-inch Electric Vertical Smoker holds a steady 225 to 250 degrees Fahrenheit without a stick of charcoal to manage, which is most of what makes a first brisket succeed instead of fail. Current price on Amazon, with the chrome racks and analog temperature dial included.
Amazon Check Today's Price on Amazon →Step 1: Trim the Fat Cap
Start with a full packer brisket, point and flat still connected, somewhere between 12 and 14 pounds. Trim the fat cap down to about a quarter inch, no thinner, because that layer is what protects the flat from drying out over eight to ten hours of smoke. Cut away the hard, waxy deposits of fat between the point and flat, and round off the thin edge of the flat so you do not end up with a paper-thin corner that turns to jerky before the rest of the brisket is done. I trim on a rimmed sheet pan the night before, then let the trimmed brisket sit uncovered in the fridge overnight so the surface is dry when it goes onto the Masterbuilt's chrome racks the next morning. A dry surface takes the rub better and smokes better than a wet one.
Flip the brisket over and check the meat side too. There is often a thin membrane of silver skin near the flat that will not render no matter how long it smokes, along with a few thick fat pockets between the two muscles that are worth carving out so the rub and smoke can reach the meat directly. None of this needs to be surgical. Eleven seasons of trimming everything from pork shoulders to whole briskets has taught me that a rough, confident trim beats a slow, timid one that leaves fat you meant to remove in the first place.
Step 2: Apply the Rub
Season heavy. A basic Texas-style rub of coarse black pepper and kosher salt in equal parts, roughly two-thirds of a cup each for a 13 pound brisket, is enough on its own, though I usually add a tablespoon of granulated garlic and a teaspoon of cayenne for a little more depth. Apply it at least an hour before the brisket goes into the smoker, or overnight if you trimmed the day before. Pat the rub on rather than rubbing it in, working it into every corner including the sides, and do not skip the fat cap even though the fat itself will not absorb much of it.
This is also when I set the Masterbuilt up outside, fill the water pan, and load the first round of wood chips so the unit is preheating while the brisket comes up toward room temperature on the counter. Do not smoke a brisket straight out of the fridge if you can help it. A cold center adds close to an hour to your total cook time and makes the stall harder to predict later on.
Step 3: Set the Smoker and Hold 225 to 250 Degrees
Preheat the Masterbuilt to 225 degrees Fahrenheit and let it stabilize for a full 15 minutes before the brisket goes in. The analog dial on the 30-inch model is a good starting point but not a precise one, so I keep a separate digital probe thermometer clipped to one of the top racks for the first hour of every cook, just to confirm the chamber is actually holding where the dial says it is. Once I have confirmed that on a given unit, I trust the dial for the rest of the cook.
Load the brisket fat side up on the middle rack, point facing the side of the cabinet where the heating element runs hottest, which on most vertical electric smokers is toward the back. Close the door, and resist opening it for at least the first two hours. Every time that door opens, the Masterbuilt loses ten to fifteen degrees of chamber heat and takes another ten minutes or so to recover, and on a cook that already runs eight to ten hours, those minutes add up fast.
225 degrees is my baseline for a Masterbuilt cook because the unit tends to run a touch hotter near the element than the dial suggests. 225 on the dial has read closer to 235 to 240 near the meat on my own unit. If your smoker runs true to its dial, push it to 235 to 240 degrees Fahrenheit and you can shave close to ninety minutes off total cook time without sacrificing bark. Either way, stay inside the 225 to 250 degree range for the whole cook. Lower than that and the bark never sets. Higher than that and you outrun the rendering process and end up with a tougher flat.
Step 4: Reload the Chip Tray on a Schedule
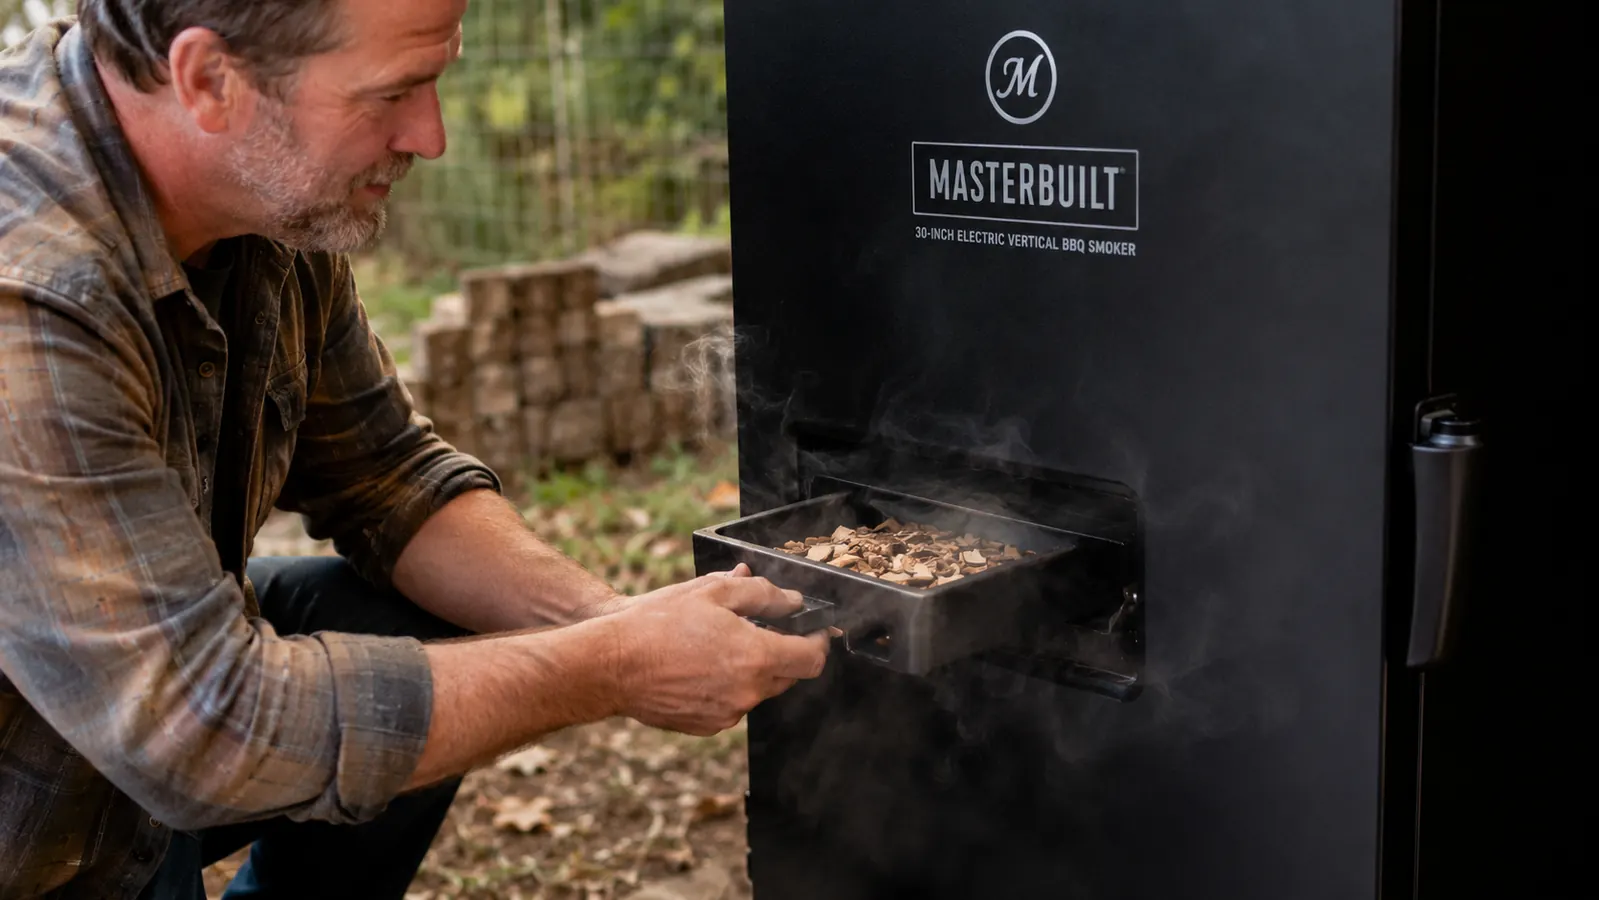
The single most common reason people say their electric smoker does not taste like a real smoker is a chip tray that ran dry three hours into a ten hour cook. The Masterbuilt's side-loading chip tray holds enough wood chips for roughly 45 minutes to an hour of visible smoke, and after that the wood is just ash sitting there doing nothing. I reload every 45 minutes for the first four hours, since that is the window where the brisket is actually absorbing smoke flavor. Meat mostly stops taking on new smoke once its surface hits around 140 degrees, so reloading past hour four is mostly wasted chips.
Use about a half cup of wood chips per reload, hickory or oak for brisket, and do not soak them first despite what the packaging suggests. Soaked chips smolder and steam instead of smoking cleanly, and that produces a bitter, sooty flavor rather than the clean blue smoke you actually want. Four to five reloads total, spaced roughly 45 minutes apart, is the routine I have settled into after six briskets on this exact Masterbuilt unit.
Step 5: Ride Out the Stall
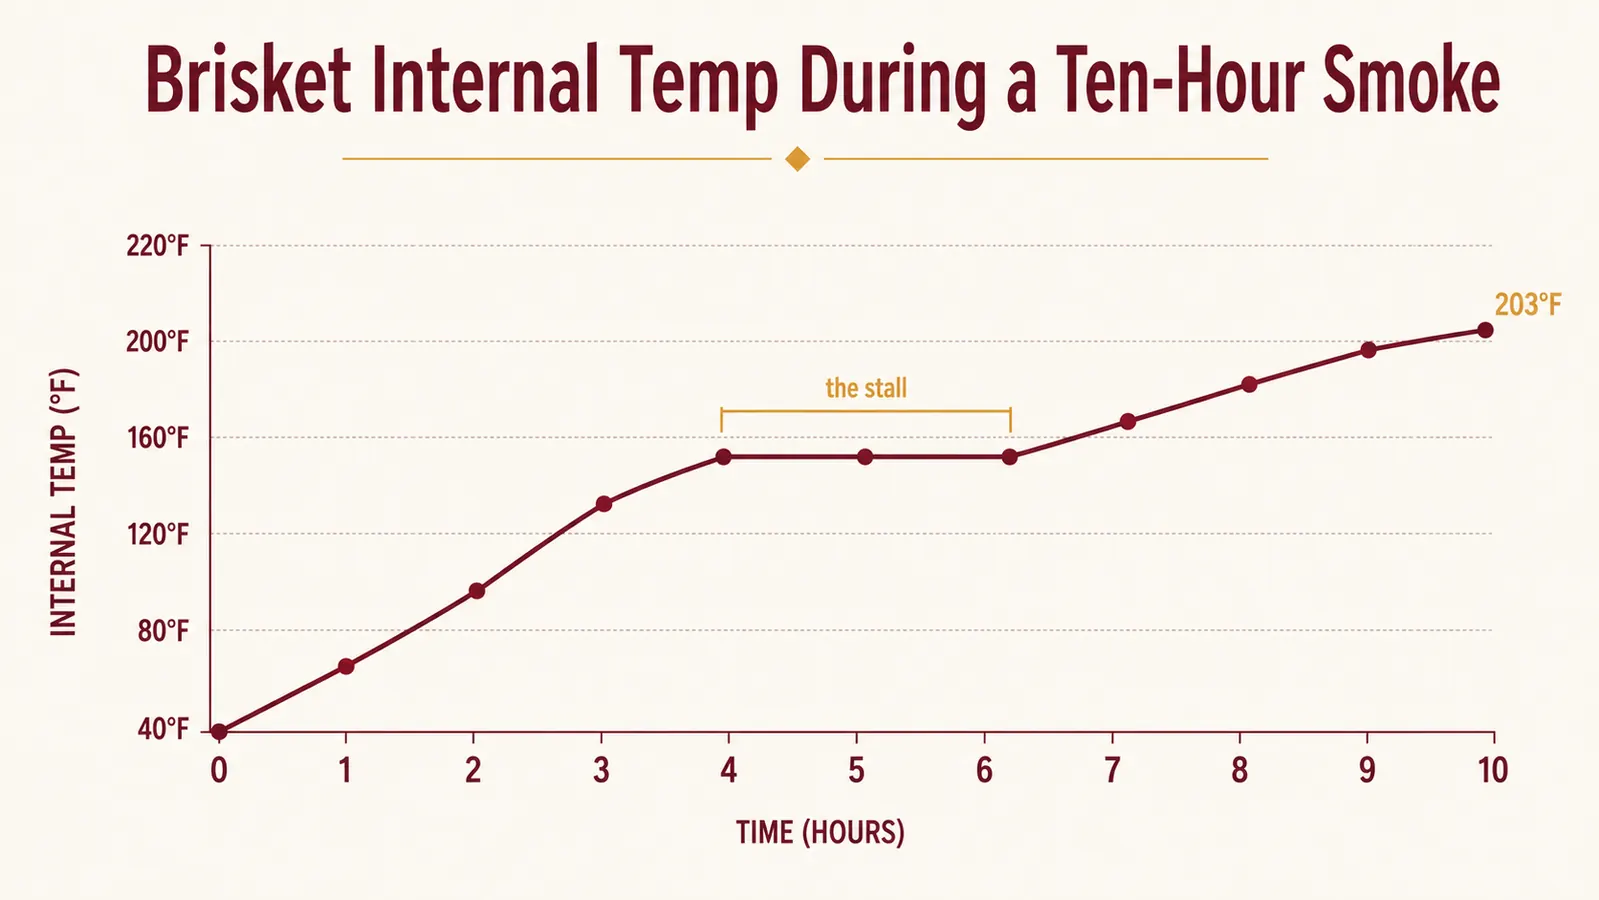
Somewhere between 150 and 165 degrees internal, usually three to five hours in depending on how cold the brisket was going in, the temperature climb will slow to a crawl or stop rising altogether for one to three hours. This is the stall, and it is normal physics, not a sign anything is wrong. As surface moisture evaporates, it cools the meat at almost exactly the rate the smoker is adding heat, so the two cancel out. Cranking the Masterbuilt up to 275 or 300 degrees to push through it is the single most common mistake I see people make here, and it tightens the flat and can crack the bark you spent four hours building.
Leave the chamber at 225 to 250 degrees and let the stall run its course. It will break on its own once enough surface moisture has evaporated, usually somewhere past the two hour mark of sitting flat. If you are on a tight schedule and cannot afford the extra time, this is the point where wrapping helps.
Step 6: Wrap, Pull at the Right Temp, and Rest
Once the brisket hits 165 degrees internal, or once the stall has held flat for close to two hours, wrap it tightly in either butcher paper or heavy duty foil. Butcher paper keeps more bark texture because it lets some moisture escape while still speeding the cook, and it is what I reach for on the Masterbuilt now after trying both side by side on separate cooks. Foil cooks faster and holds more moisture, which is the better call if your bark is already darker than you want at the two-thirds mark of the cook.
Put the wrapped brisket back on the Masterbuilt's rack and continue at the same 225 to 250 degrees until the internal temperature reads 203 degrees Fahrenheit in the thickest part of the flat, checked with a probe that slides in with almost no resistance, like butter through room-temperature butter. That resistance test matters more than the exact number on the dial. I have pulled briskets as low as 198 degrees when the probe slid clean, and left others on until 206 degrees when they still fought back.
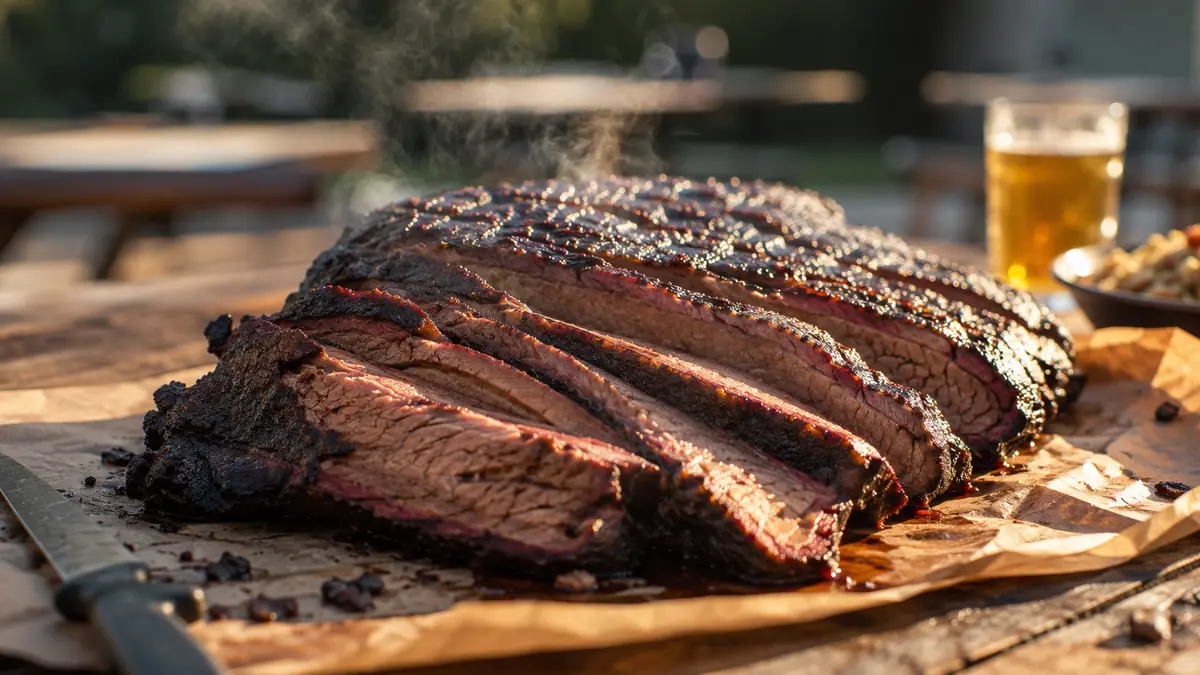
Rest it. This is the step people skip when they are hungry, and it is the step that separates a good brisket from a great one. Thirty minutes minimum, wrapped, resting on the counter. I prefer a full hour to ninety minutes, wrapped in a towel and set inside a dry cooler, which lets the internal temperature drift down slowly and lets the juices redistribute through the meat instead of running out onto the cutting board the second you slice it.
Where Brisket on an Electric Smoker Goes Wrong
A dry flat almost always traces back to one of two things: too thin a fat cap after trimming, or pulling the brisket before it actually probed tender. Internal temperature is a guideline, not a guarantee. If your Masterbuilt reads 203 degrees but the probe meets resistance in the flat, give it another 30 to 45 minutes rather than pulling on the number alone.
No bark usually means the chamber ran too cool, the brisket was wrapped in foil too early, or there was too much moisture built up in the chamber from an overfilled water pan. Keep the Masterbuilt's water pan filled but not overflowing, hold the full 225 to 250 degree range, and if bark matters more to you than a slightly faster cook, switch to butcher paper or hold off on wrapping until the last hour or two.
If you find yourself staring at a thermometer that has not moved in ninety minutes, resist the urge to raise the chamber temperature. Wrapping is the correct fix for an impatient stall, not more heat. More heat just tightens the muscle fibers faster than the connective tissue can render, and you end up with a brisket that finished on schedule but chews like a roast.
Weak smoke flavor is almost always a chip tray that ran dry two hours into the cook and nobody noticed. Set a timer for every 45 minutes through the first four hours of any brisket cook on the Masterbuilt, reload the tray each time it goes off, and you will not have this problem again.
What Else Helps
A couple of things outside the six core steps make a real difference on repeat cooks. A dedicated leave-in probe thermometer is worth buying before your second brisket, since the analog dial on any electric smoker, Masterbuilt included, tells you chamber temperature, not meat temperature, and those two numbers only line up loosely. I also keep a small log of dial reading versus actual chamber temperature for my own unit taped inside the cabinet door, since I found out the hard way that trusting an uncalibrated dial for a whole cook cost me a brisket that ran about fifteen degrees hotter than I thought for six hours straight. If you are still deciding whether an electric unit is the right move at all, I laid out ten reasons an electric smoker beats charcoal for a cook this long, and I wrote up six months of results with this exact model in my long-term Masterbuilt review.
The stall is not a malfunction. It is the brisket telling you to leave the door closed and wait.
The dial holds 225 to 250 degrees so you don't have to babysit a fire for ten hours.
Six briskets in, the Masterbuilt 30-inch Electric Vertical Smoker is still the unit I reach for when I actually want to walk away from a cook and enjoy the day instead of tending coals. Current price on Amazon, chrome racks and 535 square inches of cooking space included.
Amazon See the Masterbuilt Electric Smoker on Amazon →