
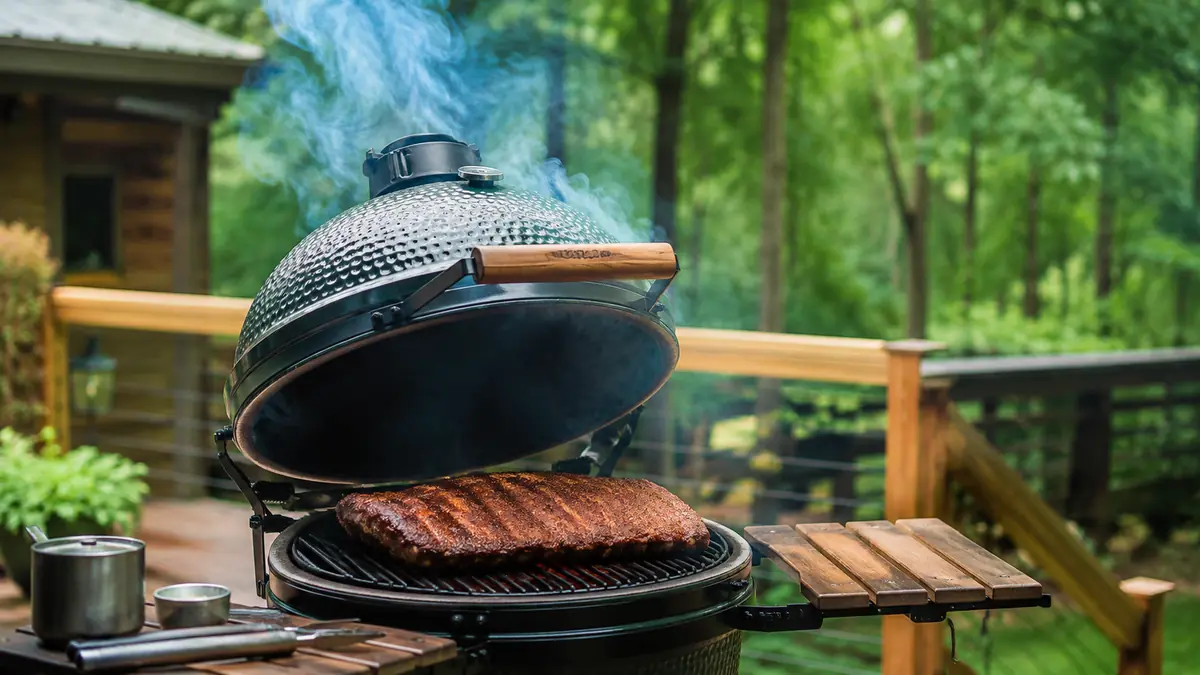
Most of the ribs that come off a home grill dry out before the collagen ever breaks down, or they steam themselves gray in a pan of foil for three hours and come out mushy instead of tender. Both are the same underlying mistake: not holding a low, steady temperature long enough for tough connective tissue to render without cooking the meat past the point of pulling cleanly off the bone. A kamado grill solves the temperature side of that problem better than almost anything else in a backyard lineup, because the thick-walled body holds heat with very little charcoal once it is dialed in. I use a Char-Griller AKORN Kamado Grill for this exact reason, and everything below is the process I actually run on it, not a theoretical method pulled from a package label.
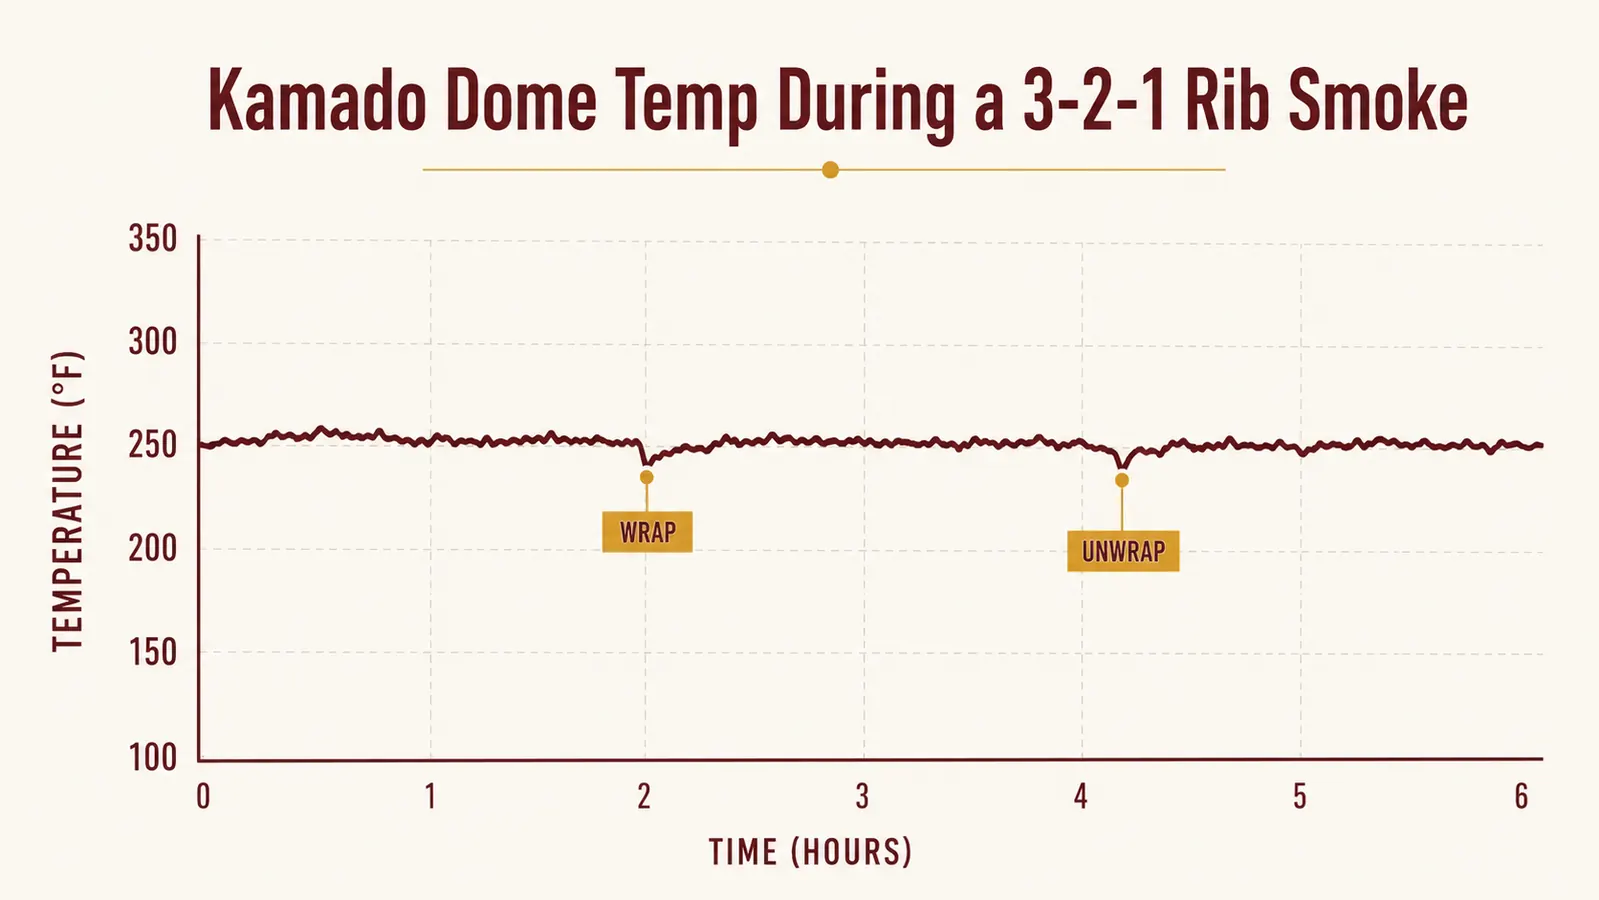
This is a full walkthrough, membrane removal through the bend test, with real temperatures and real hours, plus the vent settings that keep a kamado sitting at 250 degrees Fahrenheit for six hours without babysitting it. If you are still deciding whether a kamado is the right cooker for this job at all, I go through that case in more detail in 10 Reasons a Kamado Grill Cooks Better, and if you want the long-term read on the specific grill I use, this review covers six months on mine.
The grill that makes holding 250 degrees the easy part.
A kamado's thick walls do most of the temperature work for you once the vents are set right. The Char-Griller AKORN is the model I run these cooks on, and current price on Amazon is worth checking before you plan your next smoke day.
Amazon Check Today's Price on Amazon →Step 1: Pick Your Ribs and Strip the Membrane
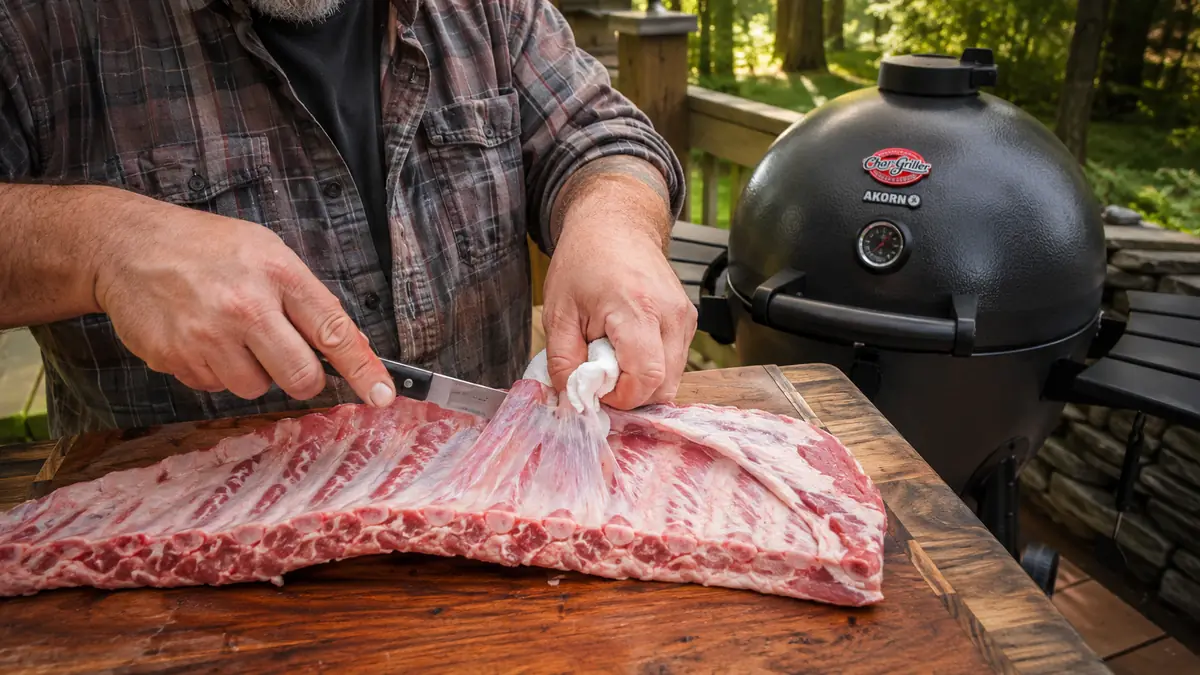
Spare ribs, trimmed St. Louis style, are what I reach for most because the flatter rack sits evenly on the grate and the extra fat renders down over the long cook. Baby back ribs work too, they are just leaner and finish faster, closer to four and a half hours total instead of six. Either way, flip the rack bone side up and find the thin, papery membrane running across the back. Slide a butter knife or a flat-blade tool under one corner near the third or fourth bone, get a grip on it with a paper towel, and peel it off in one motion if you can.
Skipping this step is the single most common reason ribs turn out chewy on the bone side no matter how long they smoke. The membrane does not render like fat does. It just tightens into a rubbery layer that blocks smoke and rub from reaching the meat and keeps the bone side from pulling cleanly. It takes maybe ninety seconds per rack once you have done it a few times.
Step 2: Season Heavier Than Feels Right
Pat the rack dry, apply a thin layer of yellow mustard or a light coat of oil as a binder, then cover it generously with a dry rub built on kosher salt, brown sugar, paprika, black pepper, garlic powder, and a little cayenne if you like heat. I mean generously, more than most rub containers suggest. A lot of that seasoning is going to render off with the fat over six hours, and a coating that looks aggressive on raw meat usually reads as correctly seasoned once it has cooked down.
Let the seasoned rack sit at room temperature for twenty to thirty minutes while you get the fire going. That takes the chill off the meat so it starts cooking evenly the moment it hits the grate instead of spending the first stretch just catching up to grate temperature.
Step 3: Set Up the Kamado to Hold 250 Degrees
Fill the firebox roughly two-thirds full with lump charcoal or briquettes and light one small area rather than the whole bed, since a kamado needs very little fuel to run a long, low cook. On the Char-Griller AKORN, I open the bottom intake vent to about a quarter of the way and crack the top damper to a thin sliver, then let the temperature climb and settle for fifteen to twenty minutes before I even think about putting food on. Chasing the temperature down by slamming the vents shut too early is how you end up with a fire that stalls out entirely.
Once the dome thermometer holds steady in the 240 to 260 degree range for a few consecutive minutes without you touching anything, add two or three fist-sized chunks of fruit wood, apple or cherry work well with pork, on top of the lit coals. Set a deflector plate or a foil-wrapped ceramic plate setter between the fire and the grate so the ribs cook by indirect heat rather than sitting directly over the coals. A shallow pan of water on the deflector helps buffer temperature swings and keeps the air inside the dome from drying the meat out over a long cook.
The Char-Griller AKORN's gasket and thick double-walled body are what make this part realistic without constant attention. Once that fire is dialed in on mine, I can leave it alone for two to three hours at a stretch and come back to a dome temperature within ten degrees of where I left it, which is not something I can say about a thin-walled charcoal grill running the same setup.
Step 4: Smoke Unwrapped for the First Three Hours
Place the rack bone side down on the grate, close the lid, and leave it alone. Resist opening the lid to check on it, every time you lift it you lose heat and add ten to fifteen minutes back onto the total cook. For a full spare rib rack, plan on three hours unwrapped at 250 degrees before you move to the next step. Baby backs usually only need two hours here.
During this stretch the surface of the ribs develops a deep mahogany bark and a faint pink smoke ring just under the surface. If you want to spritz, a mix of apple cider vinegar and water every forty-five minutes or so after the first ninety minutes helps keep the bark from drying out, though it is optional and mostly a preference call rather than a requirement.
Step 5: Wrap for Two Hours to Push Past the Stall
Pull the rack once the color is set, lay it on a double layer of heavy-duty foil or a sheet of pink butcher paper, and add a few tablespoons of butter, a drizzle of honey, and a light sprinkle of brown sugar before sealing it tightly. Return the wrapped rack to the kamado, still at 250 degrees, for about two hours. This wrapped stage is what pushes the meat through the stall, the stretch where evaporative cooling holds internal temperature flat for an hour or more, and it is also where most of the tenderizing actually happens.
The seal matters here. A loose wrap lets moisture escape and defeats the purpose of this step, so take the extra thirty seconds to fold the foil or paper tightly on all sides before it goes back on the grate.
Step 6: Unwrap, Sauce if You Want It, and Run the Bend Test
Unwrap carefully, there will be a good amount of hot liquid fat and juice pooled in the foil, and set the rack back on the grate for a final hour. If you like a glazed finish, brush on barbecue sauce during the last twenty to thirty minutes so it has time to tack up and caramelize without burning. Skip the sauce entirely if you prefer the bark to stay the main flavor.
Check doneness with the bend test rather than trusting the clock alone. Pick the rack up with tongs at one end and let it hang. Ribs that are ready will bow deeply and the surface of the bark will crack slightly between two bones near the center. If it barely bends at all, it needs more time, usually in fifteen to thirty minute increments back on the grate. Internal temperature in the thickest part should land somewhere between 195 and 203 degrees Fahrenheit, which is where collagen has broken down enough for real tenderness without the meat falling completely off the bone before you get it to the table.
Step 7: Rest Before You Cut
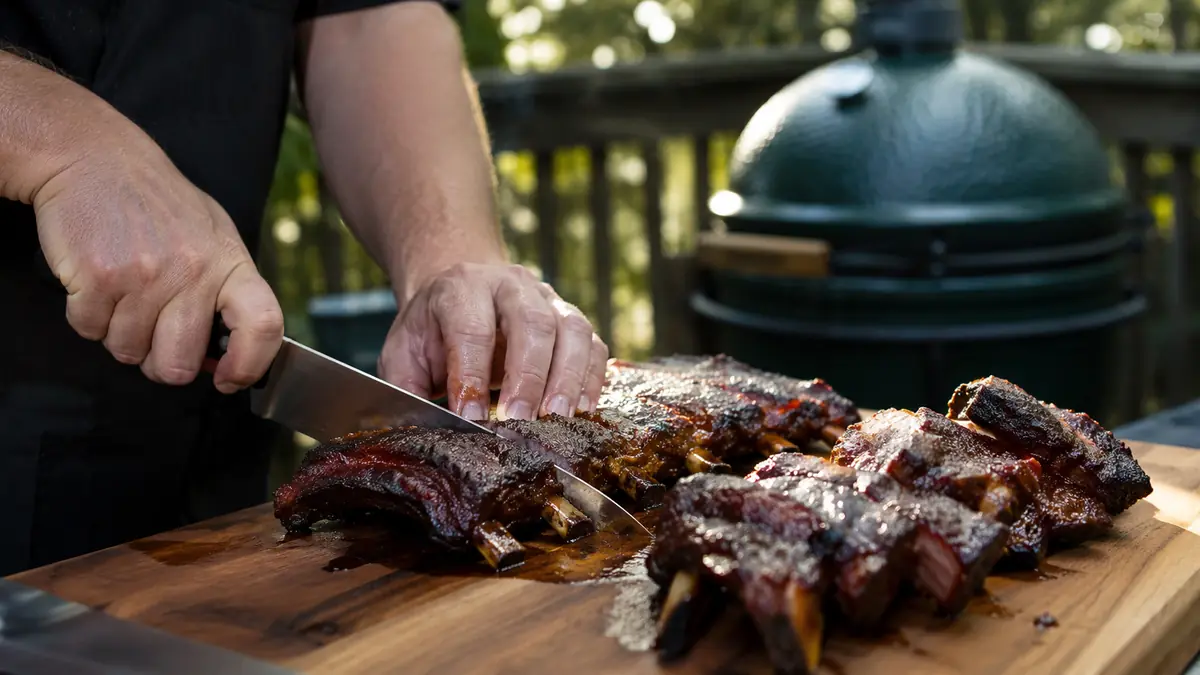
Tent the finished rack loosely with foil and let it rest for ten to fifteen minutes before slicing between the bones. That short rest lets the juices redistribute through the meat instead of running out onto the cutting board the moment the knife touches it. Slice with a sharp knife straight down between each bone for clean individual ribs rather than tearing the rack apart by hand.
Troubleshooting Common Rib Problems
Temperature spikes are almost always a vent problem, not a charcoal problem. On a Char-Griller AKORN, if the dome temperature suddenly climbs past 300 degrees, close the bottom intake most of the way and give the kamado ten full minutes before touching anything else. A kamado's thick walls hold heat well, which also means they respond slowly, adjusting the vents every ninety seconds and expecting an instant reaction is the fastest way to overcorrect into a swing the other direction.
The stall, where internal temperature plateaus for an hour or more somewhere in the 150 to 170 degree range, is normal biology, not a sign anything went wrong. Wrapping in foil or butcher paper during Step 5 is the fix. If you are running unwrapped the whole cook by choice, just expect the stall and do not panic and crank the heat to push through it, that tends to dry the outside out before the inside catches up.
Tough, chewy ribs after a full cook usually trace back to one of three things: the membrane was left on, the cook ran too hot and finished the outside before the inside broke down, or the rack came off the grate too early based on time alone instead of the bend test. Time estimates in this guide are a starting point for planning your day, the bend test and the internal temperature range are what actually tell you the rack is done.
Too much smoke, the acrid, bitter kind rather than a clean thin blue smoke, almost always means the fire is smoldering instead of burning clean, usually from too little airflow or wet wood chunks. Open the bottom vent slightly to give the fire more oxygen, and let raw wood chunks dry out for a day before using them if they have been sitting outside. A well-running kamado should produce thin, almost transparent smoke, not thick white or gray billows.
What Else Helps
A dial or probe thermometer separate from the built-in dome gauge is worth the small cost, since factory thermometers on any grill, the Char-Griller AKORN included, can run ten or fifteen degrees off from actual grate temperature. A cheap wireless meat probe left in the thickest part of the rack also saves you from opening the lid just to check internal temperature, which protects the steady heat you worked to build in Step 3.
The bend test told me more in three seconds than a meat thermometer ever has, once the rack sags and cracks between two bones, it is done, no matter what the clock says.
Six hours of steady heat, without babysitting the vents all day.
This whole method depends on a grill that holds temperature on its own once the vents are set. That is what pulled me toward the Char-Griller AKORN in the first place, and current price on Amazon is worth checking before your next smoke day.
Amazon See the Char-Griller AKORN on Amazon →